Getting Started
Before You Begin
Each code block includes a copy button.
The content displayed in the documentation is intended to help you understand what is being created or configured. The copy button copies a platform-specific command that performs the complete operation automatically.
Recommended system requirements
- 16 GB RAM
- Recent multi-core CPU
Pre-requisites
Linux (Ubuntu/Debian)
sudo apt update
sudo apt install -y docker.io docker-compose-plugin
docker --version
Mac
- We support the current macOS release
- Apple Silicon Mac recommended
- Docker Compose is included with Docker Desktop
Windows
- Windows 11 Pro, Enterprise, or Education (Home also works with WSL2, but Pro is smoother for virtualization tooling)
- Virtualization enabled in BIOS (Intel VT-x or AMD-V)
- Install WSL2
wsl --install -d Ubuntu- Use WSL 2 instead of Hyper-V ( Docker Documentation )
Deploy your first project locally in under 5 minutes
After completing the onboarding process, a test project named GitLab Cortex Demo will be automatically created.
What You’ll Deploy
The GitLab Cortex Demo project is a self-contained distributed system designed to showcase how Cortex models, generates, and deploys complete development environments.
In less than 5 minutes, you’ll deploy a fully functional platform including:
- GitLab for source code management
- PostgreSQL as the application database
- OpenLDAP for identity management
- pgAdmin for database administration
- phpLDAPadmin for LDAP administration
- Reverse proxying and TLS termination
- Production-aligned networking and service discovery with Traefik
Why This Project Exists
This project demonstrates how Cortex can:
- Model an entire distributed system from a single source of truth
- Generate deployment artifacts automatically
- Standardize development environments across teams
- Reduce configuration drift between development and production
- Enable developers to run complex systems locally
Important
This environment is intended for demonstration, testing, and evaluation purposes only.
It is not production-ready and should not be deployed as-is. Security, scalability, monitoring, backup, and operational requirements have been intentionally simplified to keep the setup easy to understand and deploy.
Let's get started
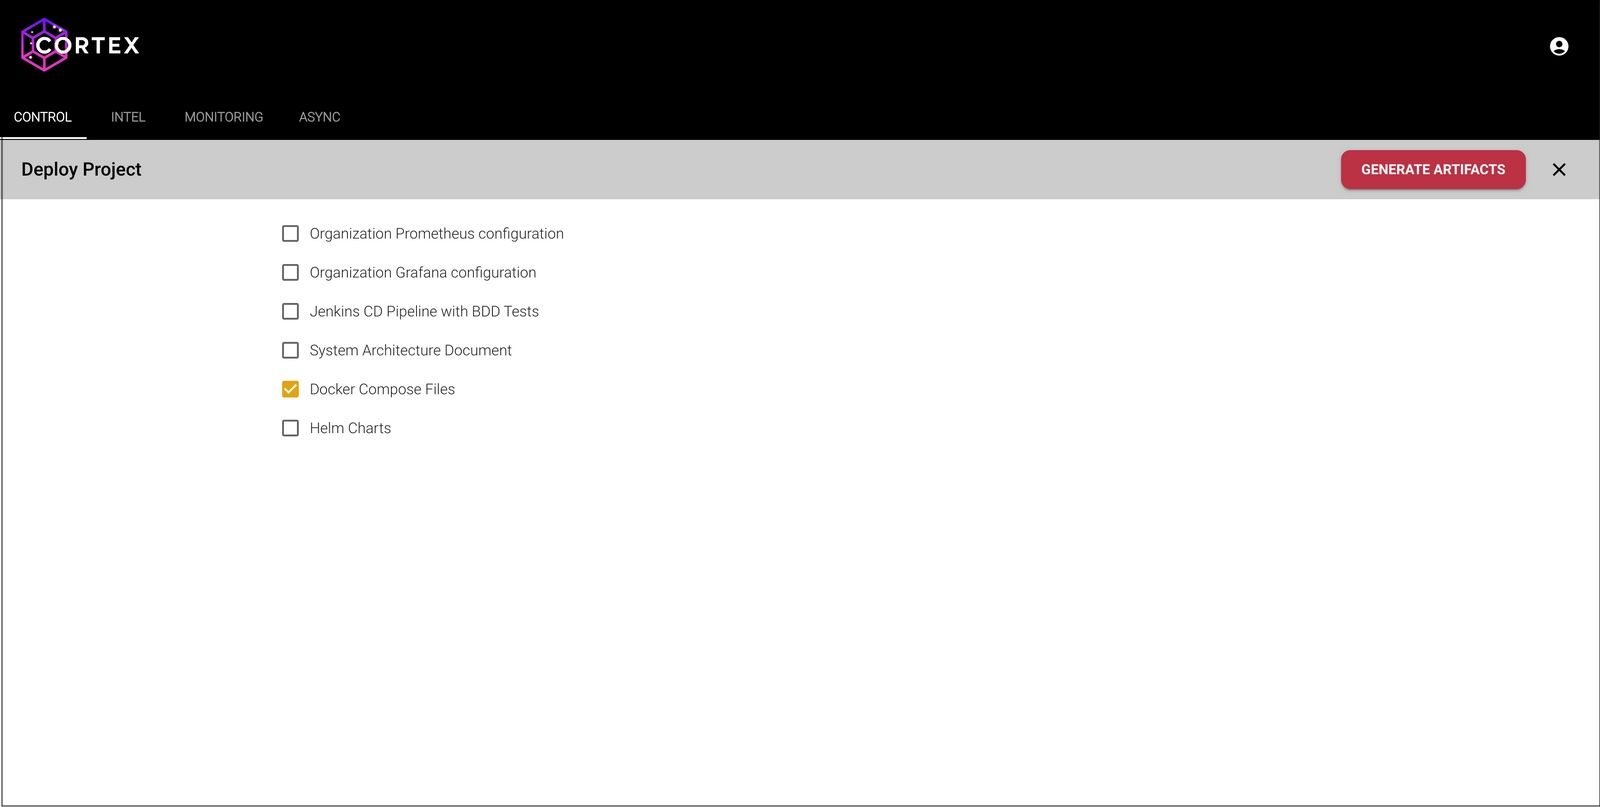
Please select the GitLab Cortex Demo project and generate the artifact Docker Compose Files.
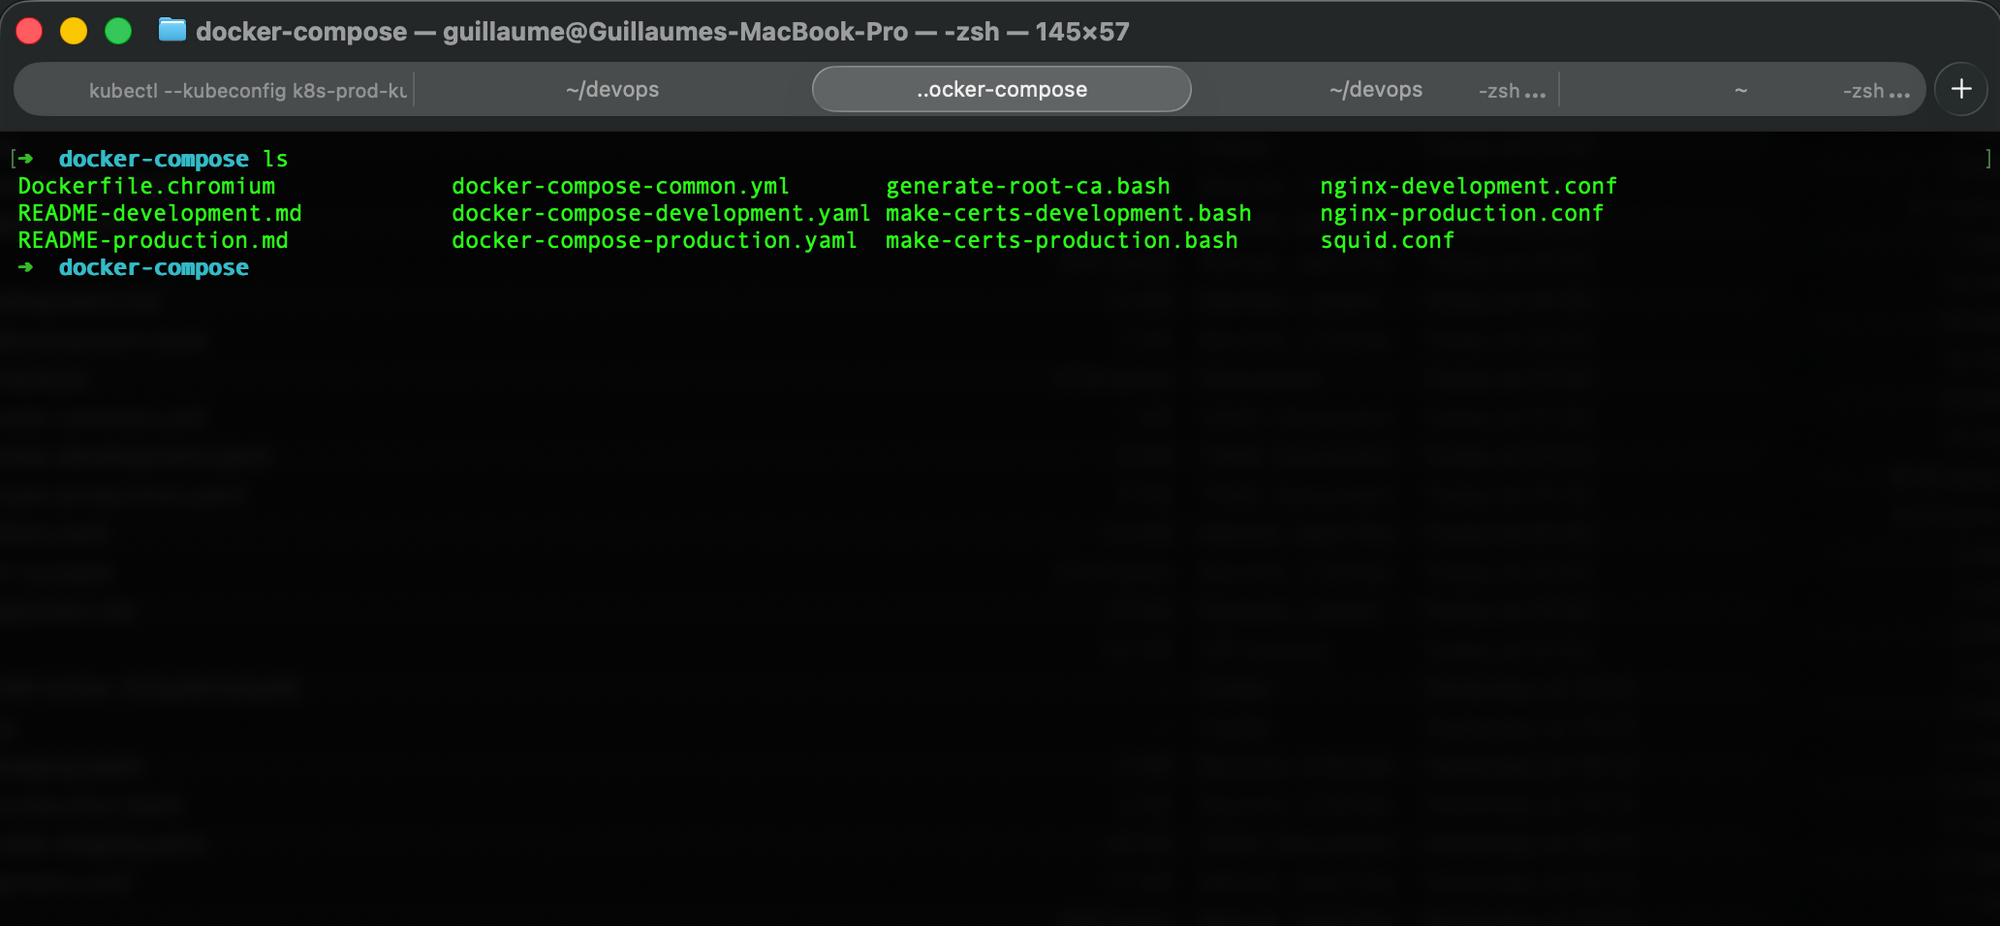
Unzip the archive, open a terminal and navigate to the unzipped folder.
Create shared docker networks
docker network create gateway-net
docker network create backend-netdocker network create gateway-net
docker network create backend-netGenerate a root certificate (skip if you already have one)
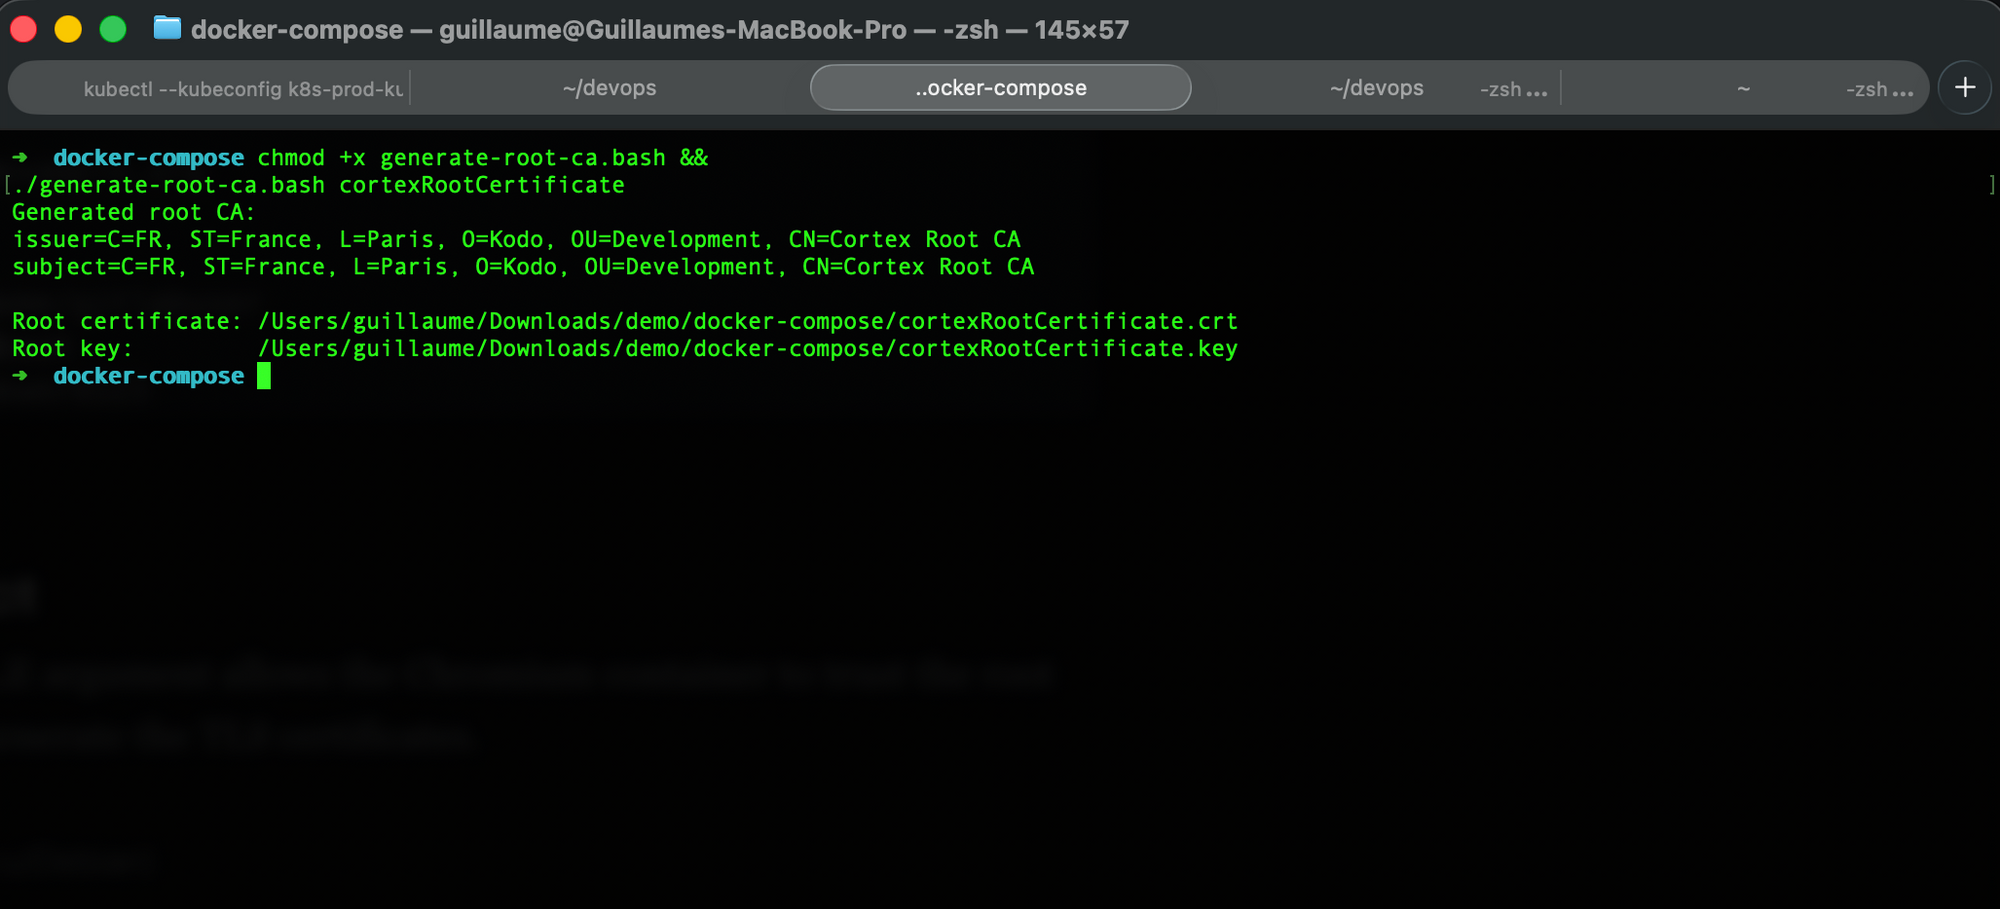
chmod +x generate-root-ca.bash
./generate-root-ca.bash cortexRootCertificatebash ./generate-root-ca.bash cortexRootCertificateIf you want your browser and tools (curl, Chrome, etc.) to trust the TLS certificates generated for the platform, you should install the generated root certificate into your system trust store.
sudo security add-trusted-cert -d -r trustRoot -k /Library/Keychains/System.keychain cortexRootCertificate.crtsudo cp cortexRootCertificate.crt /usr/local/share/ca-certificates/
sudo update-ca-certificatesImport-Certificate -FilePath cortexRootCertificate.crt -CertStoreLocation Cert:\LocalMachine\Root
Get-ChildItem Cert:\LocalMachine\RootGenerate TLS certificates
We'll now generate the application certificates using the provided root certificate.
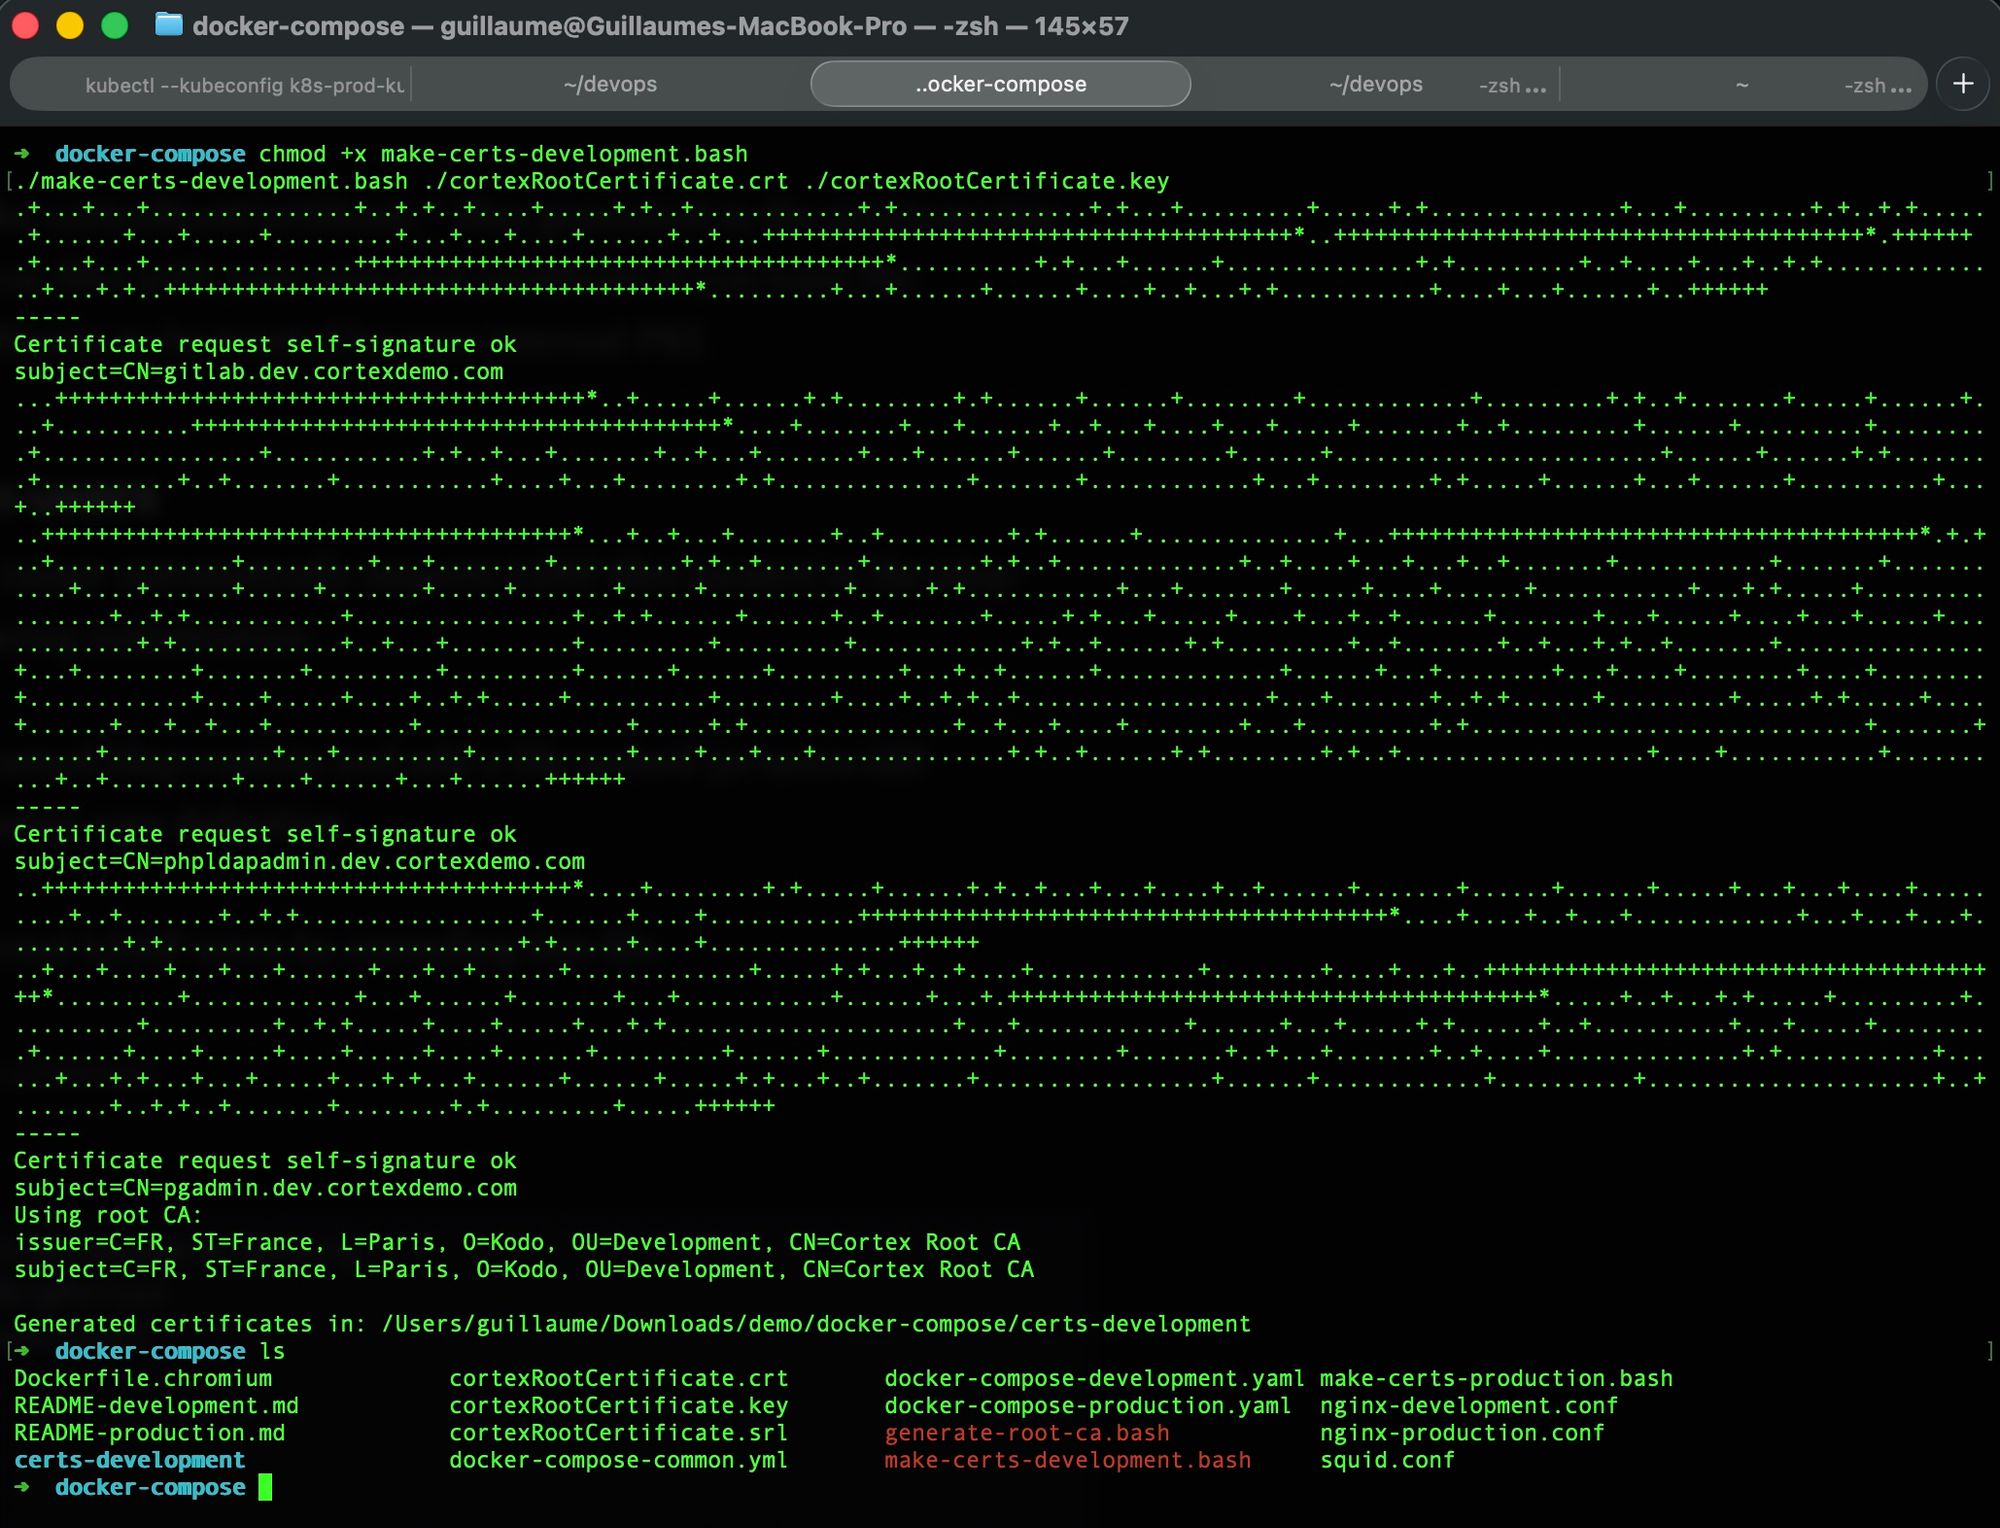
chmod +x make-certs-development.bash
./make-certs-development.bash ./cortexRootCertificate.crt ./cortexRootCertificate.keybash ./make-certs-development.bash ./cortexRootCertificate.crt ./cortexRootCertificate.keyWe are using here the cortexRootCertificate.* files generated in the previous step. You may replace these files with your own root certificate if you want the generated TLS certificates to be trusted by your internal PKI.
Configure OpenLDAP users
The OpenLDAP container automatically imports LDIF files located in the ldap-custom directory during initialization.
Create a directory named ldap-custom and add a file named 50-users.ldif containing the following user definition.
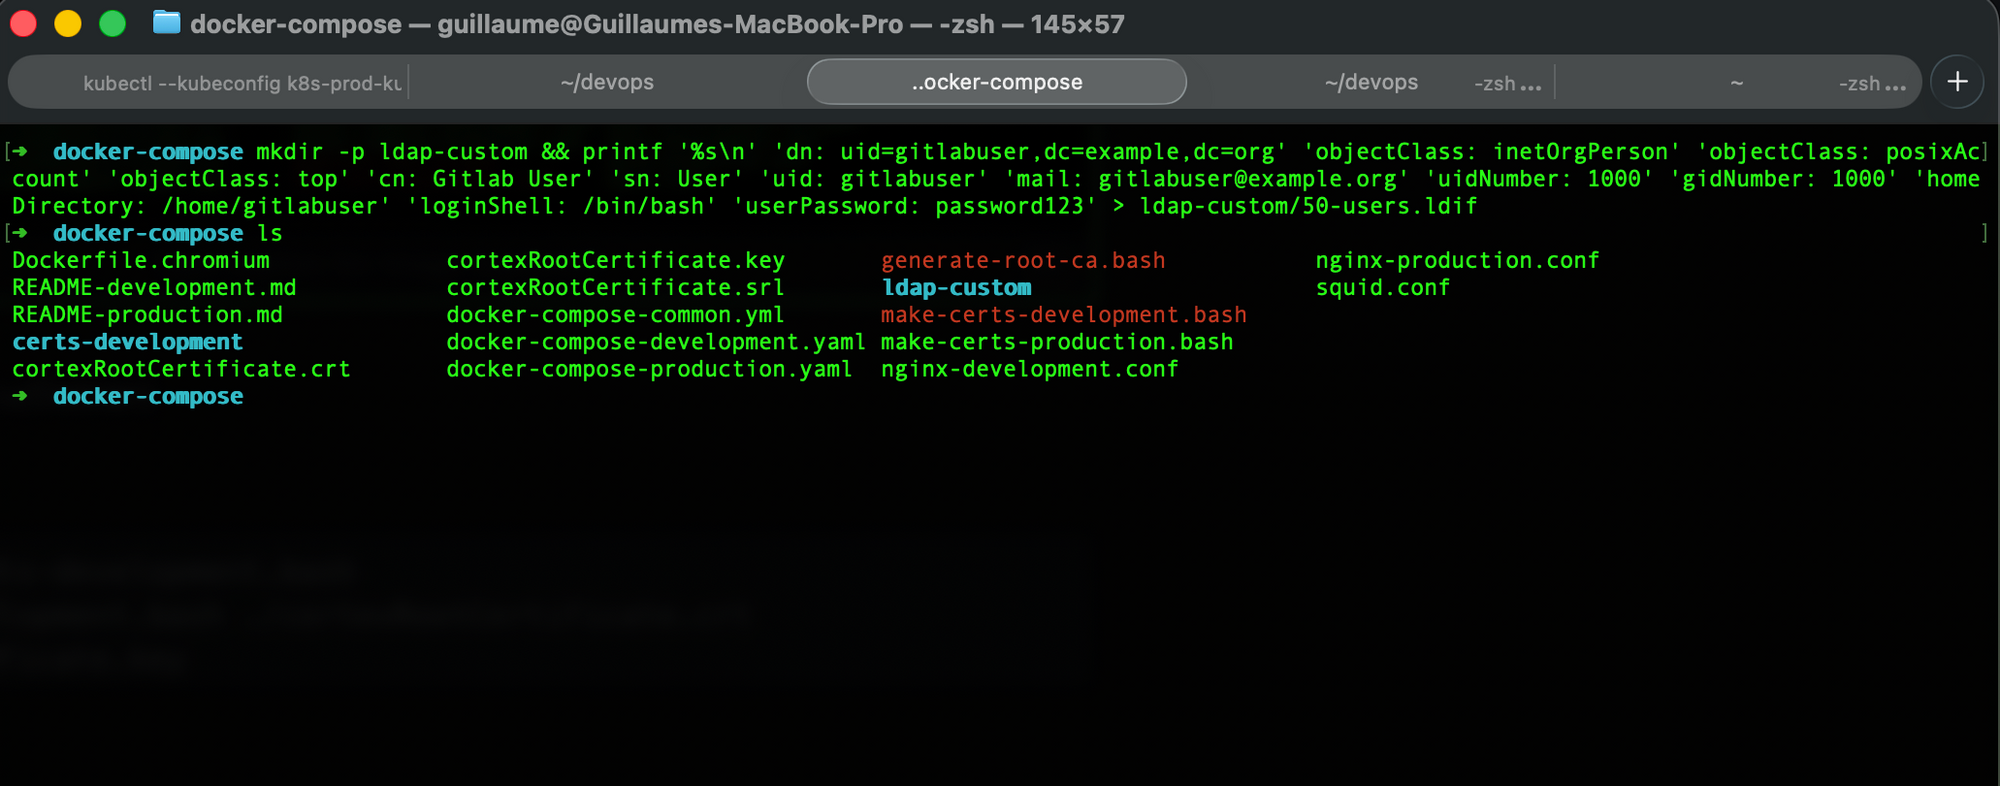
You may add additional LDAP users by extending this file.
dn: uid=gitlabuser,dc=example,dc=org
objectClass: inetOrgPerson
objectClass: posixAccount
objectClass: top
cn: Gitlab User
sn: User
uid: gitlabuser
mail: gitlabuser@example.org
uidNumber: 1000
gidNumber: 1000
homeDirectory: /home/gitlabuser
loginShell: /bin/bash
userPassword: password123dn: uid=gitlabuser,dc=example,dc=org
objectClass: inetOrgPerson
objectClass: posixAccount
objectClass: top
cn: Gitlab User
sn: User
uid: gitlabuser
mail: gitlabuser@example.org
uidNumber: 1000
gidNumber: 1000
homeDirectory: /home/gitlabuser
loginShell: /bin/bash
userPassword: password123Start the project
The ROOT_CA_FILE argument allows the Chromium container to trust the root certificate used to generate the TLS certificates.
ROOT_CA_FILE=cortexRootCertificate.crt docker compose -f docker-compose-development.yaml -f docker-compose-common.yml up -d --build$env:ROOT_CA_FILE="cortexRootCertificate.crt"; docker compose -f docker-compose-development.yaml -f docker-compose-common.yml up -d --buildConnect to GitLab
- GitLab
https://gitlab.dev.cortexdemo.com - PgAdmin
https://pgadmin.dev.cortexdemo.com - PhpLDAPadmin
https://phpldapadmin.dev.cortexdemo.com
You can connect with the user: gitlabuser@example.org | password123
If you want to connect from your web browser, you'll have to install the root certificate on your local TrustStore and declare the hosts in /etc/hosts
127.0.0.1       gitlab.dev.cortexdemo.com
127.0.0.1       phpldapadmin.dev.cortexdemo.com
127.0.0.1 pgadmin.dev.cortexdemo.com127.0.0.1 gitlab.dev.cortexdemo.com
127.0.0.1 phpldapadmin.dev.cortexdemo.com
127.0.0.1 pgadmin.dev.cortexdemo.comStop the project
docker compose -f docker-compose-development.yaml -f docker-compose-common.yml down